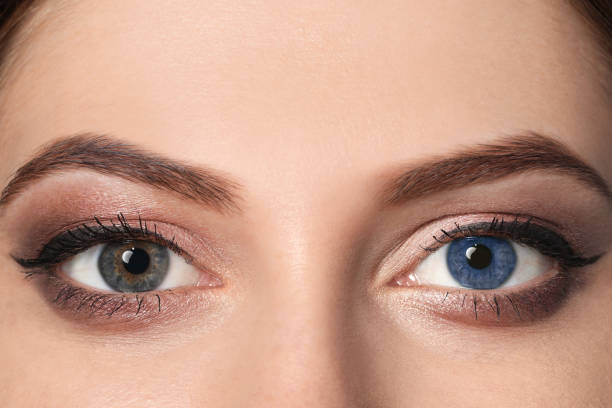
Achieving the perfect winged eyeliner is a coveted skill in the beauty world. It’s a classic look that defines and accentuates the eyes, adding a touch of glamour to any makeup ensemble. For many beginners, the thought of perfecting winged eyeliner can seem daunting. By breaking down the process into simple steps and understanding the tools needed—such as liquid eyeliners and gel liners—you’ll soon realize that with a bit of guidance and practice, crafting an impeccable wing is within your reach, regardless of varying eye shapes.
Introduction to Winged Eyeliner
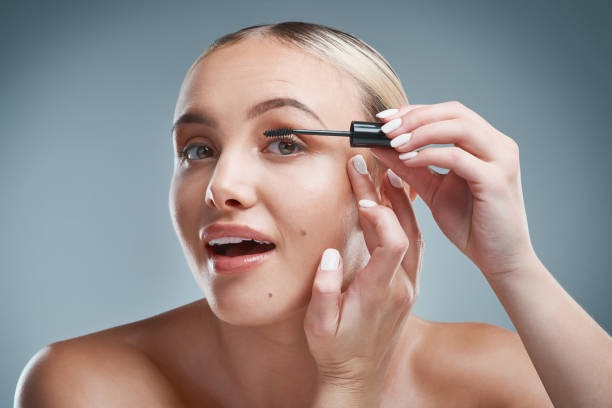
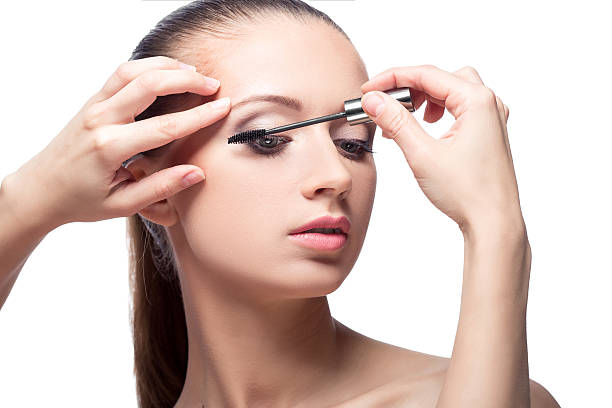
Winged eyeliners have the power to transform your makeup looks from mundane to fabulous with just one sweep. But achieving this iconic eye makeup requires the right technique and some essential tools. Before diving into the technique, let’s look at the tools and products you’ll need:
- Eyelid primer
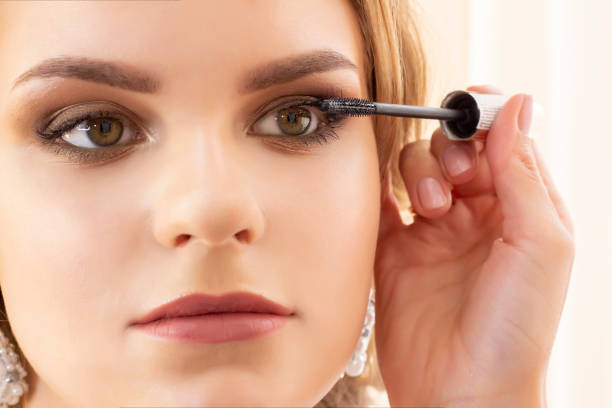
- Liquid or gel eyeliner
- Angled eyeliner brush (for gel eyeliners)
- Makeup remover or correction pen for touch-ups
When selecting your tools, keep in mind that liquid eyeliners are great for sharp, precise lines, while gel eyeliners work well for a more forgiving application, especially if you’re using an angled brush. The key is to choose a product that feels comfortable for you and suits your skill level.
Step-by-Step Guide to Perfect Wings
Step 1: Preparing Your Eyelids
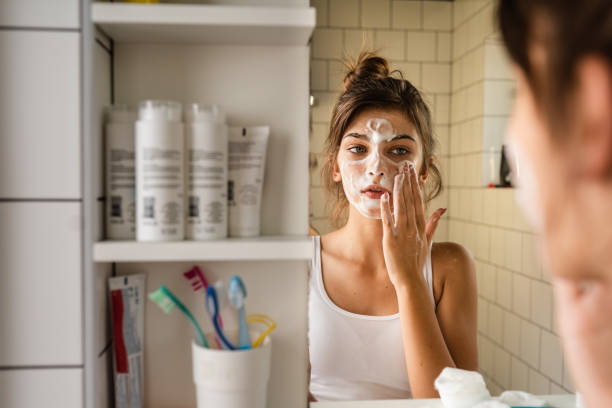
Before you take the plunge into drawing your eyeliner, it’s crucial to lay down a good base. Start with an eye primer to ensure your eyeliner doesn’t smudge or fade through the day. This step should not be skipped, as it can make a huge difference in the longevity of your look. Once your primer is set, use a neutral eyeshadow to create an even canvas. Your hand should be steady, so rest your elbow on a flat surface as you work. This stable base will facilitate more precise lines.
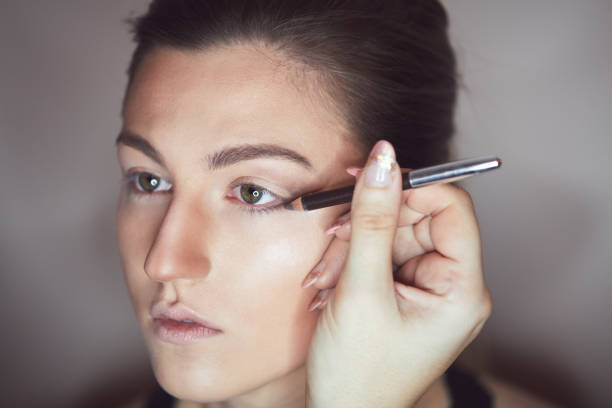
Step 2: Drawing the Initial Line
Here, the journey of perfecting winged liner begins at the lash lines. The line should start as thin as possible at the inner corners of the eyes, gradually thickening as it reaches the outer corners. The right angle is key, and a simple trick is to imagine an extension of your lower lash line; this is where the line should aim towards. For those who are nervous about freehanding this, use a piece of tape or a card as a guide. Remember, the line doesn’t have to be perfect on the first go; you can always clean it up later.
Step 3: Creating the Wing
The placement of your wing is crucial and should be tailored to your unique eye shapes. Generally, the wing should extend upwards, following the angle guideline we’ve established. When just starting out, small, light strokes can be easier to control and can help ensure both wings are symmetrical. Keep the angle consistent, and remember that practice makes perfect. The tip of the wing should be sharp and clean – a liquid liner is typically best for achieving this detail.
To connect the wing to the rest of the eye, draw a line back towards your lash line, creating a triangle. Fill in this shape to define your wing. Make sure the top line of your wing flows smoothly into the rest of your liner, creating one cohesive look. This step might require some back-and-forth fine-tuning, but the result should be a sleek line that enhances your natural eye shape.
Clean Up and Final Touches
At this stage, don’t fret if your liner isn’t quite perfect. Dips the tip of a cotton bud into makeup remover to sharpen any smudges or uneven lines. For pinpoint correction, a makeup remover pen is a great tool to have on hand. Once you’re happy with the shape, take a moment to intensify the color if needed. A second coat of liner will add boldness and ensure your winged eyeliner stands out.
Tips and Tricks for Beginners
No matter your skill level, certain tips and tricks can help you in perfecting winged eyeliner. Here are a few to help you navigate through common issues and to enhance your newfound eye makeup technique:
- Make your eyeliner last longer by setting the liner with a black eyeshadow.
- For different eye shapes, adjust the thickness and angle of the wing. For example, those with hooded eyes might benefit from a thinner wing to avoid transferring.
Troubleshooting Common Winged Eyeliner Problems
When it comes to winged eyeliners, certain challenges can be frustrating for novices. Here’s a breakdown of issues and solutions:
- Winged Eyeliner for Hooded Eyes: Those with hooded eyes should start the liner farther out on the lash line to ensure the wing is visible when the eye is open. Gel liners with an angled brush can provide more control in this scenario.
- Keeping Both Wings Symmetrical: To keep the wings looking identical, make small dots or lines as guides before finalizing the shape. You can also start with your less dominant side; it’s often easier to match your dominant side afterward.
The table below outlines the key differences between liquid and gel eyeliners, to help you decide which works best for you:
| Liquid Eyeliners | Gel Eyeliners |
|---|---|
| Fine, precise lines | Softer, more forgiving lines |
| Requires a steadier hand | Easier to handle with an angled brush |
| Quick drying | Might require setting with eyeshadow |
| Better for experienced users | Works well for beginners |
| More dramatic and sharp finish | Can create both subtle and bold lines depending on application |
As you continue to practice the techniques outlined above, keep in mind that winged eyeliner is an addition to your beauty repertoire where personal style and creativity should shine. Stay patient and remember that each attempt will bring you closer to achieving that flawless, swooping wing that’s become a hallmark of eye makeup.
Advanced Techniques and Styles
Once you have mastered the basic winged eyeliner, it’s time to experiment with advanced techniques and styles that can add flair to your look. Thickness and length are the aspects you can play with; a thicker wing can make a bold statement, while a longer wing can create a dramatic effect stretching beyond the outer corner of the eye for a cat-eye look. Different liquid liners can offer varying levels of precision and intensity—felt-tip liners are excellent for sharp wings, while brush tips allow for more flexibility in line variation.
For those who wish to explore beyond black eyeliner, there are colorful liners and glitter liners that can add a pop of fun to your makeup. Additionally, you might want to combine the wing with other makeup looks, such as a smokey eye, which could contribute to a more complex and textured aesthetic. Remember, when advancing your technique, it’s all about your comfort level and personal style, so there’s room for improvisation and creativity.
Dealing with Watery Eyes or Smudging
Watery eyes pose a significant challenge when it comes to maintaining winged eyeliner, but there are strategies to mitigate these effects. Opting for waterproof formulas can significantly increase the resilience of your eyeliner against moisture. When applying the liner to the lower lash line, refrain from coating the waterline if you’re prone to tearing up, as this can lead to smudging.
If smudging is a frequent issue, setting your eyeliner with a black eyeshadow can increase its staying power. Another useful tip is to avoid applying heavy creams around your eyes before liner application, as this can create a slippery base that encourages smudging. If you find any smudges after application, wait for them to dry before gently removing them with a cotton swab—this prevents further smeared.
Conclusion: Practice Makes Perfect
The path to perfecting winged eyeliner is adorned with trials and triumphs. As with any art form, practice is paramount. Allow yourself the freedom to learn from each attempt and remember that even makeup artists were once beginners. With patience and persistence, the subtleties of this technique will become second nature. Embrace each eyeliner application as an opportunity to improve, and soon, the mirror will reflect back not just a beautifully made-up eye, but a symbol of your dedication and skill.
After following this comprehensive guide, beginners should now have a strong foundation in creating a stunning winged eyeliner look. Remember, makeup is an extension of your personality, so let your confidence and creativity soar alongside your newly crafted wings.
FAQs After Conclusion
- What can I do if my wings don’t look symmetrical? Achieving symmetrical wings can indeed be challenging. Begin by marking dots where you want the tips of the wings to end before drawing the actual line. You can also use a business card or a piece of tape as a guide to ensure both wings follow the same angle. If you still find discrepancies, you can gently tweak the lines using a pointed cotton swab dipped in makeup remover to fine-tune the shape.
- Should I use liquid liners or gel liners as a beginner? While both have their advantages, gel liners paired with an angled brush are typically recommended for beginners. Gel liners offer more control and are more forgiving when correcting mistakes. Once you’re comfortable with the application, you can transition to using liquid liners for a sharper and more defined wing.
- How do I prevent my eyeliner from smudging throughout the day? To prevent smudging, start with an eyelid primer, which will help create a smooth base for your eyeliner. Use a waterproof liner and consider setting your line with a similar shade of eyeshadow for extra staying power. Also, give your eyeliner adequate time to dry, and try to avoid touching or rubbing your eyes throughout the day.
- Is winged eyeliner still fashionable, or is it considered outdated? Winged eyeliner is a timeless look that has evolved and persisted through various makeup trends. While styles and preferences may shift, the winged eyeliner continues to be a popular element in modern makeup looks for its ability to enhance and define the eyes. As trends come and go, the skill of applying winged eyeliner will remain a valuable technique in your makeup repertoire.
- How can I correct a winged eyeliner mistake without ruining my entire eye makeup? If you make a mistake, you don’t have to start over completely. Dip a fine-tip cotton swab in makeup remover and carefully erase the error. For more precision, try using a makeup remover pen. If you’ve removed a bit of eyeshadow in the process, wait for the area to dry, then simply touch up with the same eyeshadow used initially. Using a light hand and minimal product can help seamlessly blend the correction with the rest of your eye makeup.