Ombré nails are a mesmerizing and popular nail trend that seamlessly transitions colors from light to dark. This stylish nail art technique not only adds a sophisticated flair to your nails but also offers versatility in creativity, allowing you to mix and match colors as per your preference. Whether you’re a nail art newbie or an enthusiast eager to try something new, this guide will walk you through everything you need to achieve stunning ombré nails right at home.
What You’ll Need

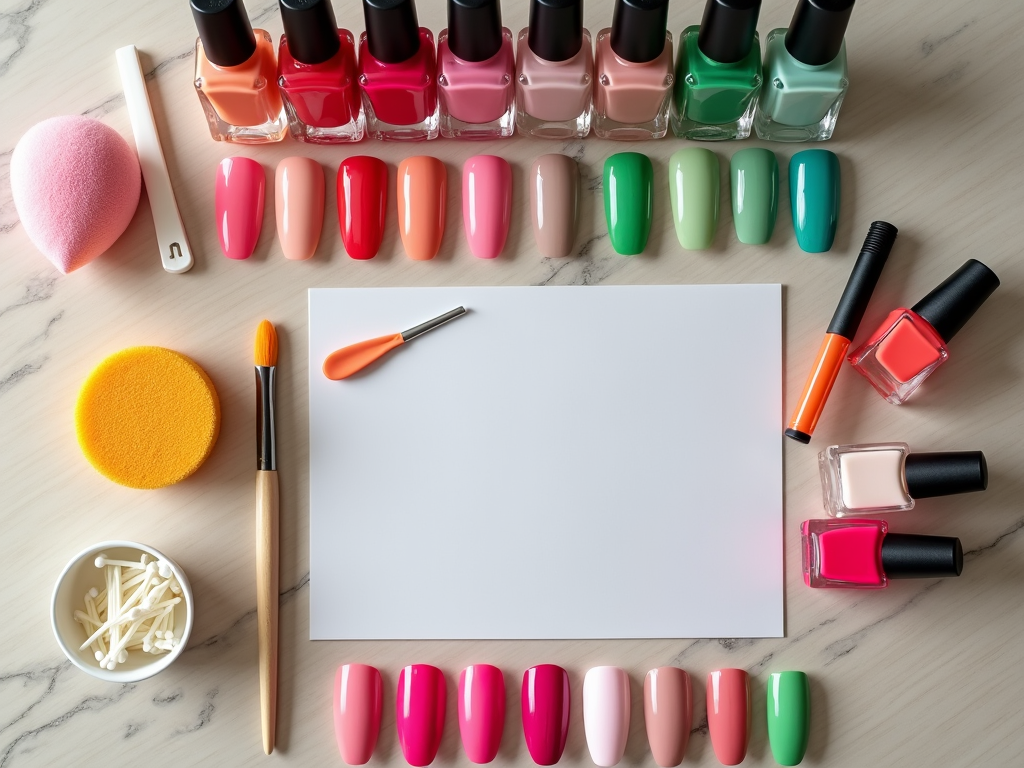
Before delving into the world of ombré nails, you’ll need to gather a few essential supplies. Having these on hand will ensure a smooth process and the best results possible. Here’s a comprehensive list:
- Base coat and top coat
- Two to three nail polish colors of your choice
- Makeup sponge or a specialized nail art sponge
- Nail polish remover
- Cotton swabs or small brush for cleanup
- Nail file and buffer
With these supplies, you’re ready to bring your ombré nails to life.
Preparing Your Nails
Preparation is key when it comes to any nail art, and ombré nails are no exception. Start by removing any old polish and thoroughly cleaning your nails with a nail polish remover. Use a nail file to shape your nails as desired and a buffer to gently buff the surface of your nails for a smooth finish. Follow up with a clear base coat to protect your nails from staining and provide a clean canvas for your ombré masterpiece.
Applying the Base Color
The next step in creating perfect ombré nails is applying your base color. Choose one of the colors you want in your gradient and apply a single thin coat over each nail, allowing it to dry completely. This base shade will serve as the foundation over which your ombré effect will overlay, so ensure it’s evenly applied for the best results.
Creating the Ombré Effect
With your base dry, it’s time to create the ombré effect. Follow these steps for a flawless gradient:
- Cut a small piece of makeup sponge or use a specialized nail art sponge.
- Apply stripes of your chosen nail polish colors directly onto the sponge, slightly overlapping them to blend seamlessly.
- Gently dab the sponge onto your nail, where the colors should transfer in a gradient effect. Focus on dabbing instead of swiping to create a smooth transition.
- Repeat these steps, reapplying polish to the sponge as necessary, until the desired ombré effect is achieved.
- Clean around your nails with a cotton swab or brush dipped in nail polish remover to erase any excess polish on your skin.
Take your time with this step to ensure a flawless gradient.
Finishing Touches
To seal your ombré nails and add an extra shine, apply a clear top coat once the polish has dried. This top layer not only prolongs the life of your nail art but also smooths the surface and intensifies the gradient’s appeal. Allow the top coat to dry thoroughly and admire your handiwork. To extend the life of your ombré nails, avoid activities that are too harsh on your nails and consider applying a fresh layer of top coat every few days.
Conclusion
Achieving gorgeous ombré nails at home is both rewarding and easier than it seems with the right tools and techniques. The beauty of ombré nails lies in their versatility and the creative freedom they offer, allowing you to customize colors and styles as you wish. By following this guide and practicing patience, you’ll have stunning ombré nails that are sure to garner attention and compliments. Remember, practice makes perfect, so don’t hesitate to experiment with different color combinations to find your ideal look.
Frequently Asked Questions
Q: Can I use gel polish for ombré nails?
A: Yes, gel polish can be used to create ombré nails for a longer-lasting finish. Follow the same steps but cure the gel under a UV or LED lamp as needed.
Q: What are the best color combinations for ombré nails?
A: Popular ombré combinations include pink to white, blue to purple, and nude to any bold color. Experiment to find your unique style.
Q: How do I fix mistakes made during the ombré process?
A: Use a cotton swab dipped in nail polish remover to clean up any mistakes. You can also use a small brush for more precision.
Q: How long do ombré nails typically last?
A: With proper care, ombré nails can last up to two weeks. Applying a top coat every few days can extend their life.
Q: What should I do if my ombré effect is uneven?
A: If the gradient is uneven, you can reapply the colors on the sponge and dab over the nails again to even it out. Practice and patience are key.